Navigate360 for Employees

Student Success Tech at SPSCC (Previously Compass)

Background

Navigate360 (and previously Compass) is used by staff, faculty, and students to create student degree plans (academic plans), schedule appointments between students and their success network advisors, view student profiles, raise flags (alerts) about a student, and more. Both platforms are products by EAB, who have helped us with the transition process.

Login to Navigate360

Use Single Sign On (SSO) to login to Navigate360 with your ClipperID and passphrase. You can access via the Quick Links Employees page >

Employee Tools & Tips

The primary landing page for faculty – which may include professors, teaching assistants, lab assistants, etc., upon logging into Navigate.

The Professor Home page is where most faculty users arrive when opening Navigate. It allows users to view key tools that enable them to take action on student success-related tasks, such as filing out Progress Reports, recording class attendance, or managing assignments.

professor home screenshot

Progress Reports

If you have been asked to participate in a campaign, you will usually receive email requests to submit feedback on students in your courses. However, you will also be able to fill out Progress Reports directly from the links or the Professor Home page. Clicking on “Fill Out Progress Reports” will direct you to the feedback form.

My Assigned Students

The My Assigned Students grid gives you an overview of the Students assigned specifically to you for certain actions or support. You can search by student name; you can also filter by common applicable categories.

Class Listing

If you are a faculty member who is teaching a course in the current term, the course information will be outlined in the Class Listing section of the Professor Home page. In addition to viewing name and room (if one is specified), you will also be able to view assignments or progress reports campaigns for those courses by clicking the links on the far end of the box.

Actions Menu

The Actions menu is found on the right-hand side of the home page. The default action is Issue Alert; click it to issue an ad hoc student alert.

Students in My Classes

If you are a faculty member who is teaching a course in the current term, the Students In My Classes grid lets you view all students assigned as your instructor for this term’s sections at your institution. To find information about each student listed (you will only see their main student grid), you will see columns next to each student’s name: Category and Course.

Quick Links

The Quick Links box is a section on your home page that contains quick access links to different features within the platform.

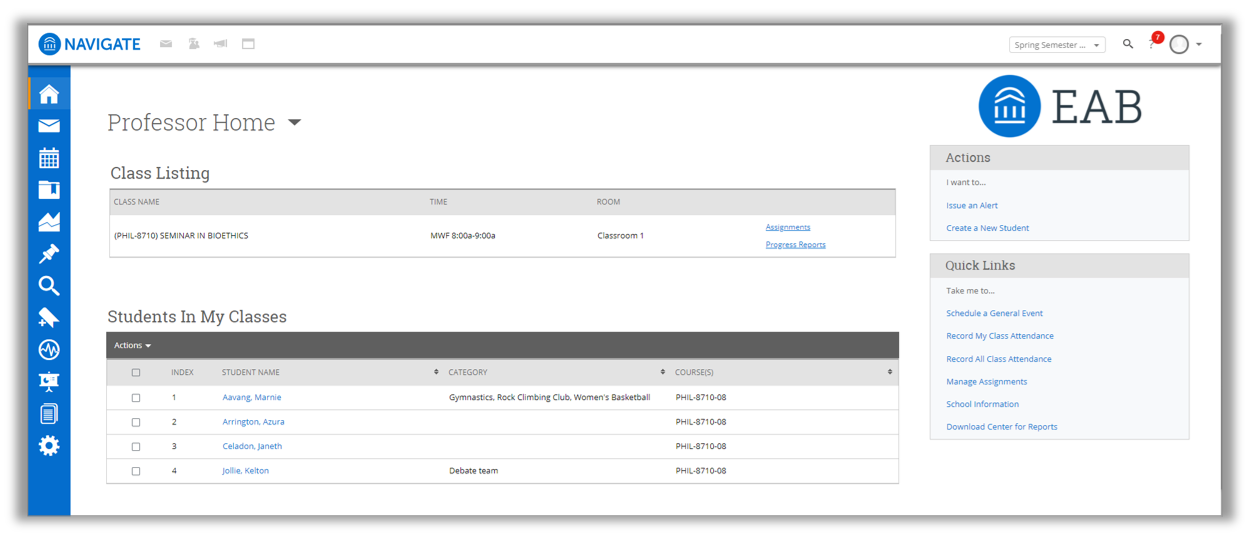
Identifying Students through Common Characteristics with Advanced Search

The Advanced Search function within Navigate allows you to create unique cohorts of students based on the layering of various search parameters, the results of which can be used as the foundation for building appointment campaigns or tracking student progress. Queries will pull lists of current students that fit the parameters of the search, and information populating in the results will be a current reflection of student data.

Student Information

Use this group of filters to search for students by personal identifying information, such as name, ID, gender, or race.

Enrollment History

Create logic statements to search for students by their enrollment status in a variety of terms.

Performance Data

Search using these filters to segment student groups by GPA, credits earned, and hours attempted.

Area of Study

Combine elements within this filter to search for students based on areas of study, including major affiliation, degree, concentration, or minor.

Term Data

Select conditions within this group of filters to run a search for students using information associated with a specific term.

Course Data

Utilize this group of filters to query students based on courses, section, and status.

Success Indicators

Run a search using these filters to identify students based on predicted risk level or success marker completion status.

Assigned To

Enter information into fields in this bucket to pull lists of students assigned to specific advisors, tutors, or coaches.

Saved Searches

Create a dynamic list of students by saving unique filter combinations.

Saved Searches allow users to conduct a pre-configured advanced search without having to manually and repeatedly create a new Advanced Search. Unlike Watch Lists (see next section), Saved Searches will always return an up-to-date population that fits your set series of users based on their current data. If you have been searching regularly with similar criteria (e.g., all first-year Biology majors), Saved Searches can save you time and effort when searching with your most common parameters.

Watch Lists

Create a static list of students by saving your search results.

A Watch List is a static list of students by unique ID that does not automatically refresh over time. You can maintain as is (at least 1 student must remain), add new members manually from other searches/exports/interactions with Connect from the Watch List.

Helping faculty learn more about a student to better inform one-on-one interactions is one of the core tenants of Navigate.

As you prepare for an interaction with a student, whether in anticipation of sending out an Appointment Campaign or before a scheduled appointment, the Student Profile aggregates all pertinent information about that student into one place.

screen shot of student profile

Key Features:

  • Within the Overview Tab, the “30-Second Gut Check” is your go-to spot for a high-level overview of a student’s academic performance and progress to date.
  • The information included within the Success Progress Tab provides additional context on a student’s progression towards degree.
  • The Class Info Tab provides information regarding a student’s enrollment history, along with grades achieved and credits awarded.
  • The History Tab aggregates all recorded activity for a student, including appointments, alerts, cases, reminders, notes, summary reports, and progress reports.

Using Navigate to send email and/or text messages to one student or a group of students.

The Navigate platform provides both email and text messaging for faculty and staff to communicate with students, either individually or en masse. Communicating with students through the platform creates records of those communications which can be accessible by other staff or faculty on your campus. In addition, it allows for a quick and easy way to communicate with more than one student at once.

You can send emails or texts to one or more students from your professor homepage, the student profile, or the advanced search results. Most “Actions” menus throughout the platform allow for sending emails or texts. See below for screenshots of each of these locations.

Email

Within an email, you can include the following information:

  • Subject: the subject line for your email message
  • Message: the body of the email message. There is no character limit for the message
  • Add Attachment: Upload attachments to the email message
  • Send Additional E-Mail Notifications To: Allows you to include additional students or staff you also want the email sent to

Text

Within a Text, you can only include a Message. You are restricted to 160 characters.

Important Note: Sending an email or text message on this screen does not send blind copy all students. In other words, the student will not know that others also received it who are not on that screen. For both email and text, it will look like the message was only sent to them.

The Navigate platform provides several different ways for faculty to document a student interaction. If you are documenting a meeting with a student, you should use an Appointment Summary Report.

Summary reports allow you to document information pertaining to a specific student appointment. Remember – Any information you enter into the platform pertaining to a student ‘becomes’ a part of their official student record and may be subpoenaed by that student, as outlined in the Family Educational Rights and Privacy Act.

There are several different ways to create an ad-hoc Appointment Summary Report for walk-in appointments – you will notice that “Create Appointment Summary” is an option in the Actions dropdown bar throughout the platform. The easiest way to create an ad hoc Appointment Summary Report for a walk-in appointment is from your staff homepage or a student profile.

On your Staff homepage, under the “Students” tab, find the specific student in your “My Assigned Students” list and click the drop down beside the student from one of your saved lists. From this section, you can click on a student and select “Create Appointment Summary” from the Actions drop down. This will allow you to document and reflect on any appointment or interaction that has occurred with that particular student in the past.

You can also create an ad-hoc Appointment Summary Report from a student's profile page. Navigate to that specific student's profile and click "Report on appointment" from the Actions menu on the right. This will create an Appointment Summary and add this appointment to your calendar in the past.

Where can I access this documentation in the future?

Appointment Summary Reports you filed can be found in several areas of either your staff home page, the individual student's profile page, or Reports

Progress Reports

Navigate’s Progress Report feature is used by faculty to share critical academic information on students enrolled in their courses. Use the instructions below to submit a Progress Report and mobilize support for a student.

For more detailed guidance, check out the Help Center.

  • Step 1: Access the Progress Reports either directly from the request email or by logging in to the Navigate platform and toggling to the Professor home page.
  • Step 2: Click “Fill out Progress Report” from email or home page.
  • Step 3: In the feedback screen, you will see a list of course sections and students that feedback is being requested for. This may or may not include all the students enrolled in your courses this semester. Begin filling out feedback according to the instructions provided in the Progress Report request email.
  • Step 4: If you have feedback about a student, select “Yes” and choose an “Alert Reason” that indicates why you are submitting feedback on this student. You may choose more than one alert reason. Please fill out the remaining columns, including the comments section with additional detail that will help an advisor follow up with this student.
  • Step 5: When submitting your Progress Reports, you have the option to submit only the students you have filled out feedback for or to submit all students. If you choose to submit all students, the students who you have not filled out feedback for will be marked as “I do not have feedback about this student.” 

Ad Hoc Alerts

Navigate’s ad hoc alerts are used by faculty and staff to share critical information and to create referrals for student between support offices. Use the instructions below to submit an early alert and mobilize support for a student.

For more detailed guidance, check out the Help Center.

Tip: Use the glossary of Alert Reasons on the next page to understand what follow up action will be associated with each Alert Reason.

  • Step 1: Click the “Issue an Alert” link in the upper right-hand corner of your home page.
  • Step 2: Search for the student for whom you’d like to issue an
    alert (using name or ID).
  • Step 3: Select the reason(s) you believe the student needs assistance. The reason(s) you choose will connect the student with the appropriate office. See more details
    on the specific alert reasons below.
  • Step 4: If the alert is associated with a particular class, fill out that field.
  • Step 5: Lastly, please provide any relevant context around your reason for submitting the alert in the comments section. Comments will help the team reviewing alerts to connect the student with the right resources in a timely fashion.
  • Step 6: Issuing an alert may open a case. You will receive an email notification when the case has been resolved.

Navigate provides both email and text messaging for faculty and staff to communicate with students, either individually or en masse. Communicating with students through the platform creates records of those communication which can be accessible by other staff or faculty on your campus. In addition, it allows for a quick and easy way to communicate with more than one student at once.

Any faculty or staff member will only be able to view communications in which they have the proper permissions. Permissions allow users to either view only their own communications with students, or to view all communications with students. If you are unsure who can view your communications, contact your Application Administrator.

How do I send the emails or texts?

You can send emails or texts to one or more students from your staff homepage, the student profile, or the advanced search. Most “Actions” menus throughout the platform allow for sending emails or texts. See below for screenshots of each of these locations.

  • Send a message from the Staff home page
  • Send a message from the Student home page
  • Send a message from the Advanced Search
  • Send a message f rom the Advanced Search